6. Remote Maintenance
6.1. Device access
The Connectivity Suite offers two options for accessing the units via the web interface:
Access via web proxy |
Access via OpenVPN client |
|
|---|---|---|
Access |
Access via a web proxy using the “Open Web Interface” button in the device details. |
Access via a OpenVPN client using the VPN IP address of the device. |
Advantages |
Quick and easy access. |
Allowing multiple web interfaces to be opened at the same time. |
Disadvantages |
Only one web interface can be opened at a time. To access a device a domain name instead of an IP address is required. |
An OpenVPN client is required |
6.1.1. Device access via Web Proxy
The Connectivity Suite web proxy enables access to the web interface of the devices connected to the Connectivity Suite OpenVPN servers without having to run an OpenVPN client locally. To access the web interface of the devices click on the “Open Web Interface” button in the Device Details (see picture).
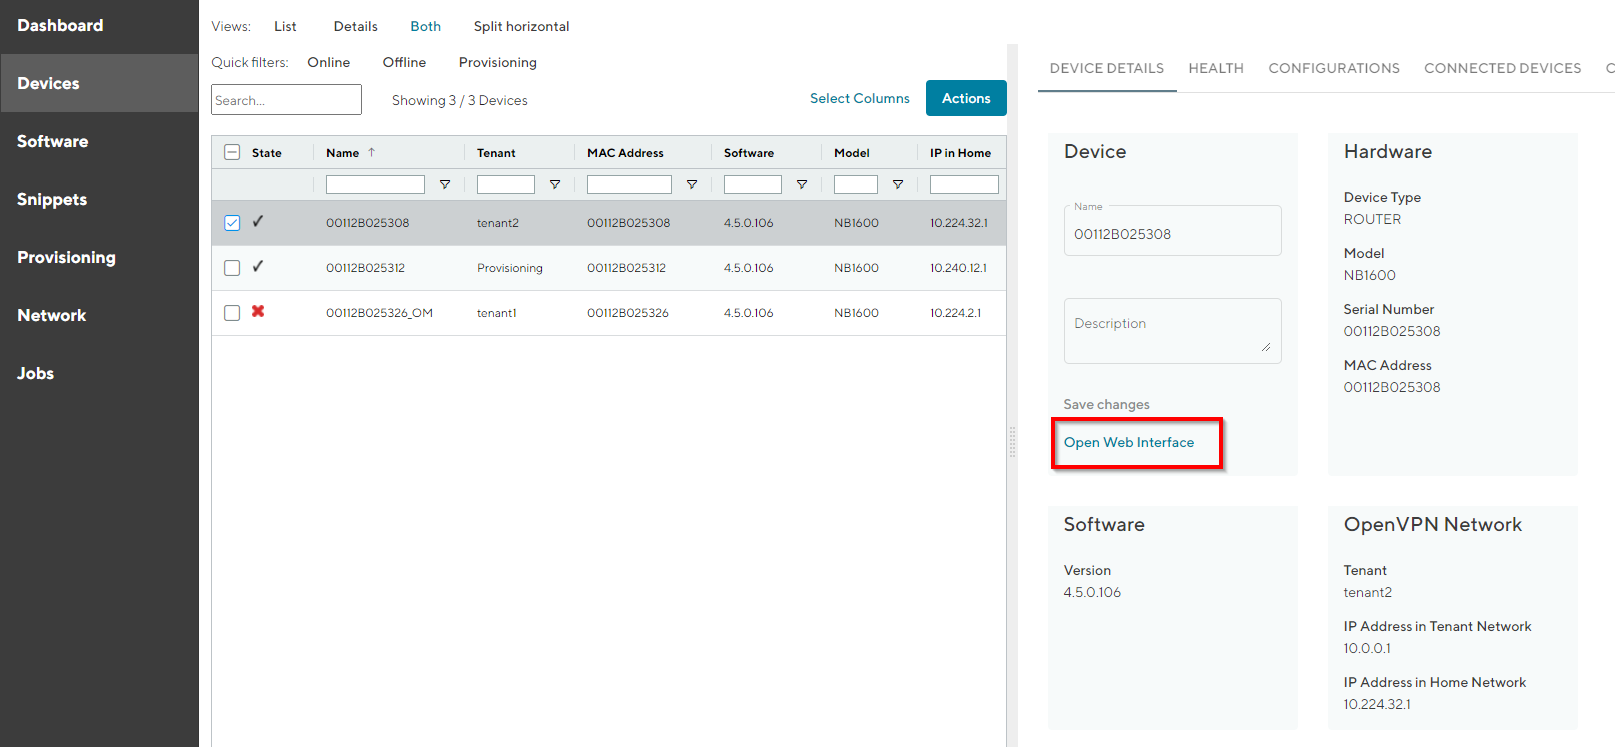
Fig. 6.1 Open web interface via web proxy
Note
A subdomain called “devices” (devices.<Connectivity Suite domain>) is needed which points to the IP address of the server where the Connectivity Suite is installed. This means a corresponding DNS entry needs to be created.
6.1.2. Device access via OpenVPN client
To access the connected Devices the Connectivity Suite provides OpenVPN to access these Devices. A VPN connection to the Provisioning, the Home or Tenant Server must be established. This means the user needs to run an OpenVPN client. The configuration and certificates needed for the VPN connection can be downloaded from the Connectivity Suite via the Service Access function.
6.1.2.1. Installing OpenVPN Client
The OpenVPN client to access the devices can be downloaded from https://openvpn.net/community-downloads/.
Warning
Only the Community Download of the OpenVPN client will work if you have downloaded the OpenVPN Connect client you will not be able to connect to the Devices which are connected to the Connectivity Suite
6.1.2.2. OpenVPN access
There are three types of Service Access:
Tenant: The user can only access Devices (and their End Devices) which are assigned to the connected Tenant. As he is a member of this Tenant’s internal network, he must use the Tenant-internal addresses to reach his destinations.
Home Server: The user can access every Device (and its End Devices) Tenant independent. As the user is a member of the Home Network, he must use thee home network’s addresses to reach his destinations. Devices connected to the Provisioning server cant be accessed.
Provisioning Server: The user can only access Devices (and their End Devices) which are assigned to the provisioning server. As he is a member of this Tenant’s internal network, he must use the Tenant-internal addresses to reach his destinations.
Note
For the following steps an account with Platform Administrator rights and an OpenVPN client is required.
Navigate to the page “Network” of the Connectivity Suite. Select the network where the required Device is assigned.
Click on “Download OpenVPN client configuration” at the Detail dialogue box to download the VPN certificates and configuration for an OpenVPN client.
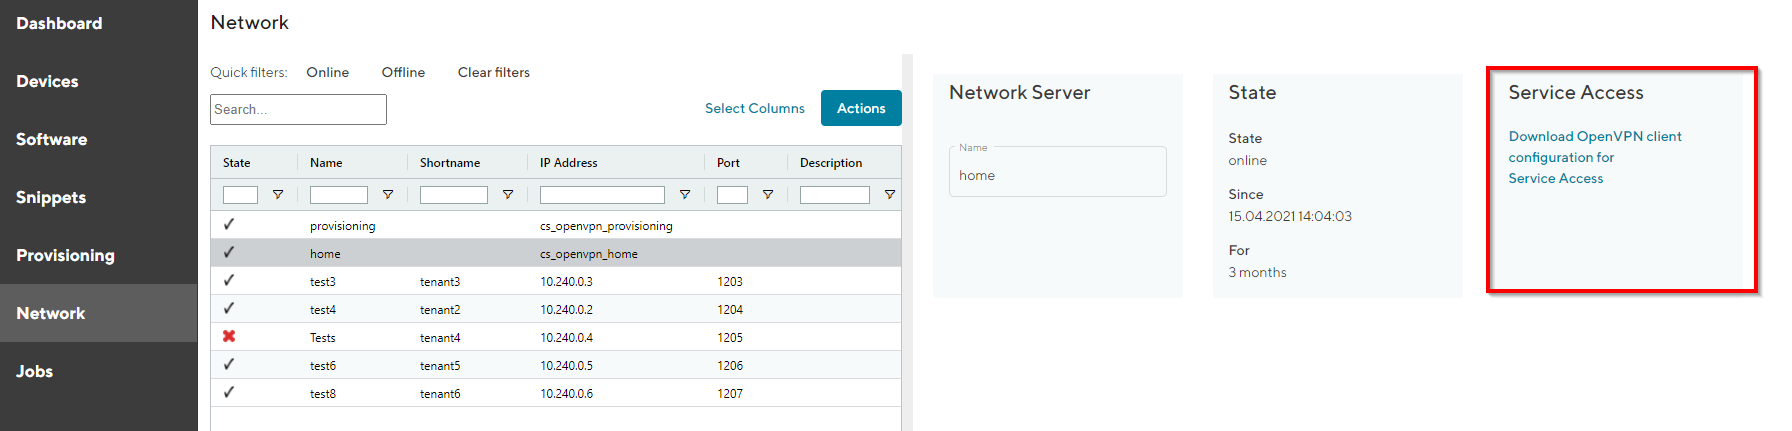
Fig. 6.2 Download VPN config
Start the OpenVPN client on your client pc and upload the downloaded file from step 1 into the OpenVPN client to establish a connection with the Connectivity Suite (The OpenVPN client can be downloaded from https://openvpn.net/community-downloads/).
After the connection has been established Navigate to the page “Devices” and select the required Device in the main dialogue table.
Use the IP-address shown in the Detail dialogue box to access the device.
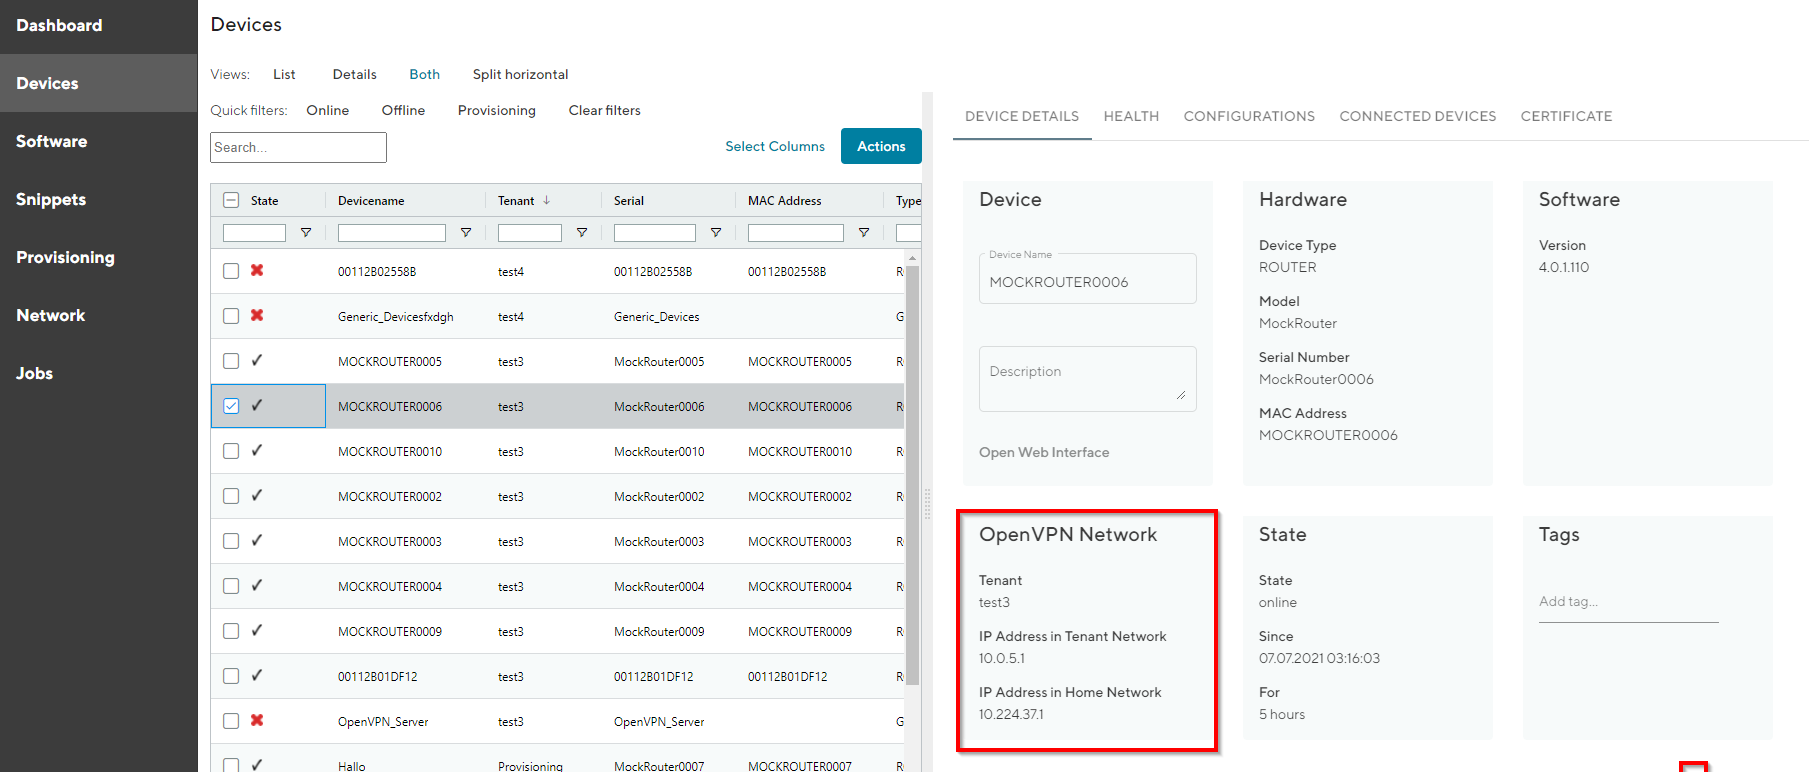
Fig. 6.3 Open web interface