4. Network Management
4.1. Add a Network
Note
For the following steps an account with Platform Administrator right is required.
When adding a new VPN Network between three VPN Network types can be chosen (see Section 12 for more detailed explanation of the Network Architecture).
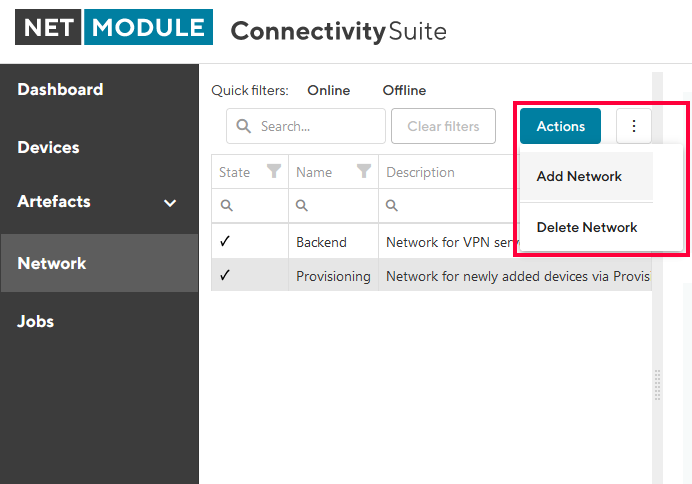
Fig. 4.1 Add Network
To add a VPN Network, navigate to the “Network” page of the Connectivity Suite UI. Click on “Actions” at the upper right corner of the Main dialogue and Click “Add Network”.
Fill out the required fields and click “Add Network” to start the assignment of a VPN Network. A confirmation message must pop up which confirms the assignment of the VPN Network.
The VPN Network will now be listed in the table in the Main dialogue. When the status shows a green tick, the VPN Network is ready for use. It can take up to two minutes until the VPN Network shows up in the table (see Fig. 4.2).
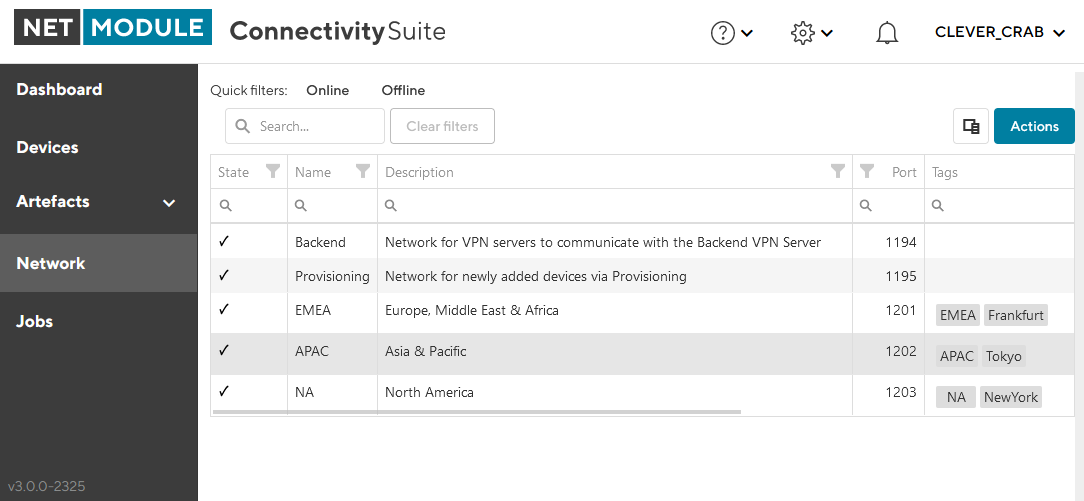
Fig. 4.2 Network added
Network Details OpenVPN Network
Alias |
Name of the OpenVPN Server |
Platform Address |
IP address which is assigned to the network by the home server. |
VPN Network Address Block in Platform Network |
The address block of a specific VPN network inside the Platform Address Block |
VPN Network Address Block |
The address block of a specific VPN network |
Port |
The UDP port number of the server where the Connectivity Suite is running (needs to be open in the firewall to connect Devices to the Network). |
Network Details Devices
VPN Network Type |
Defines the number of possible VPN Networks which can be added and number of Devices which can be connected to the VPN Network. |
Max number of routers |
The maximum numbers of routers which can be connected to the VPN Network. |
Number of routers left |
The number of routers that can be added to the VPN Network. |
Child Devices per router |
The number of End Devices that can be connected to the VPN Network. |